
Basics of Realistic Texturing
I remember getting frustrated when I first started learning Blender. Not because of the user interface (although that certainly didn't help), but at how good everyone else's materials looked online compared to mine. I was downloading the same textures, and making the same type of models, but my materials always looked bad. There was no light interaction, no tiny bumps or shadows, and I had no idea why.
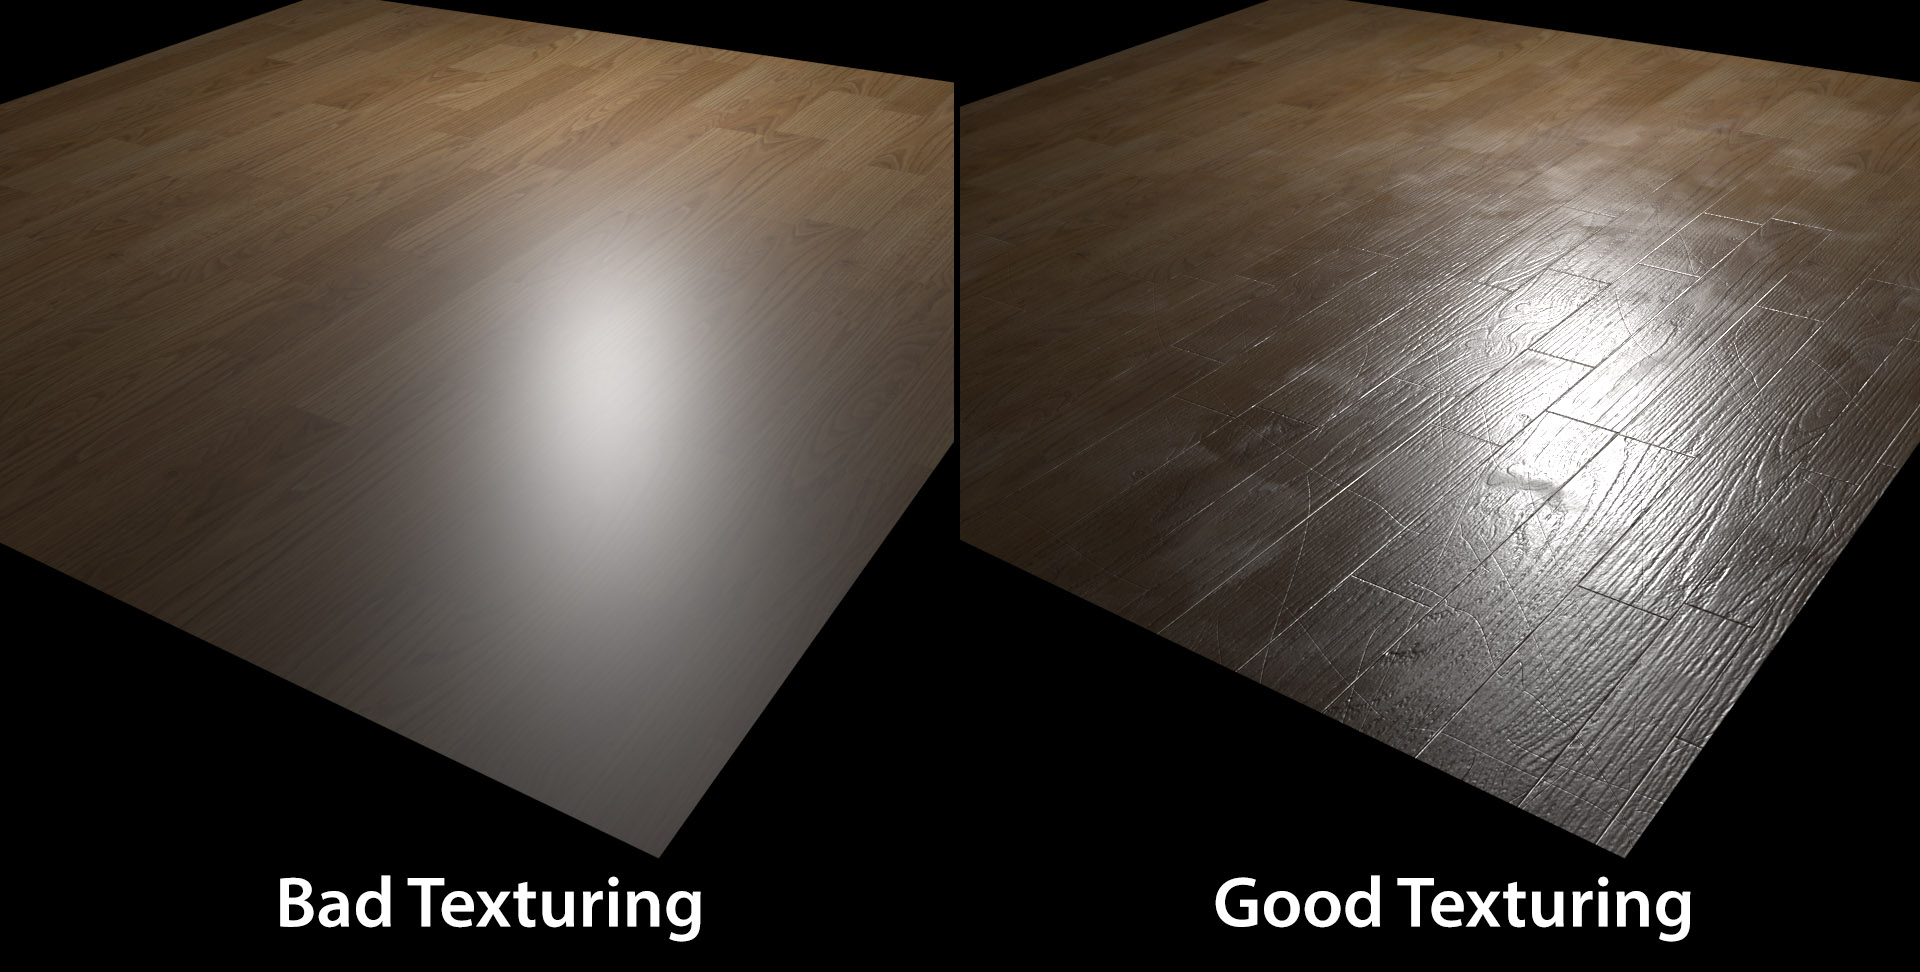
It would take me years of failing before finally discovering the answer: it's all about the texture variations.
I made a tutorial on this topic a year ago, but it was a little long and used Crazybump. So I wanted to put the same lesson into a shorter easier to understand post.
...besides, since Cycles Material Nodes was voted as your #1 struggle for 2015 I figured another tutorial couldn't hurt ;)
Final Result
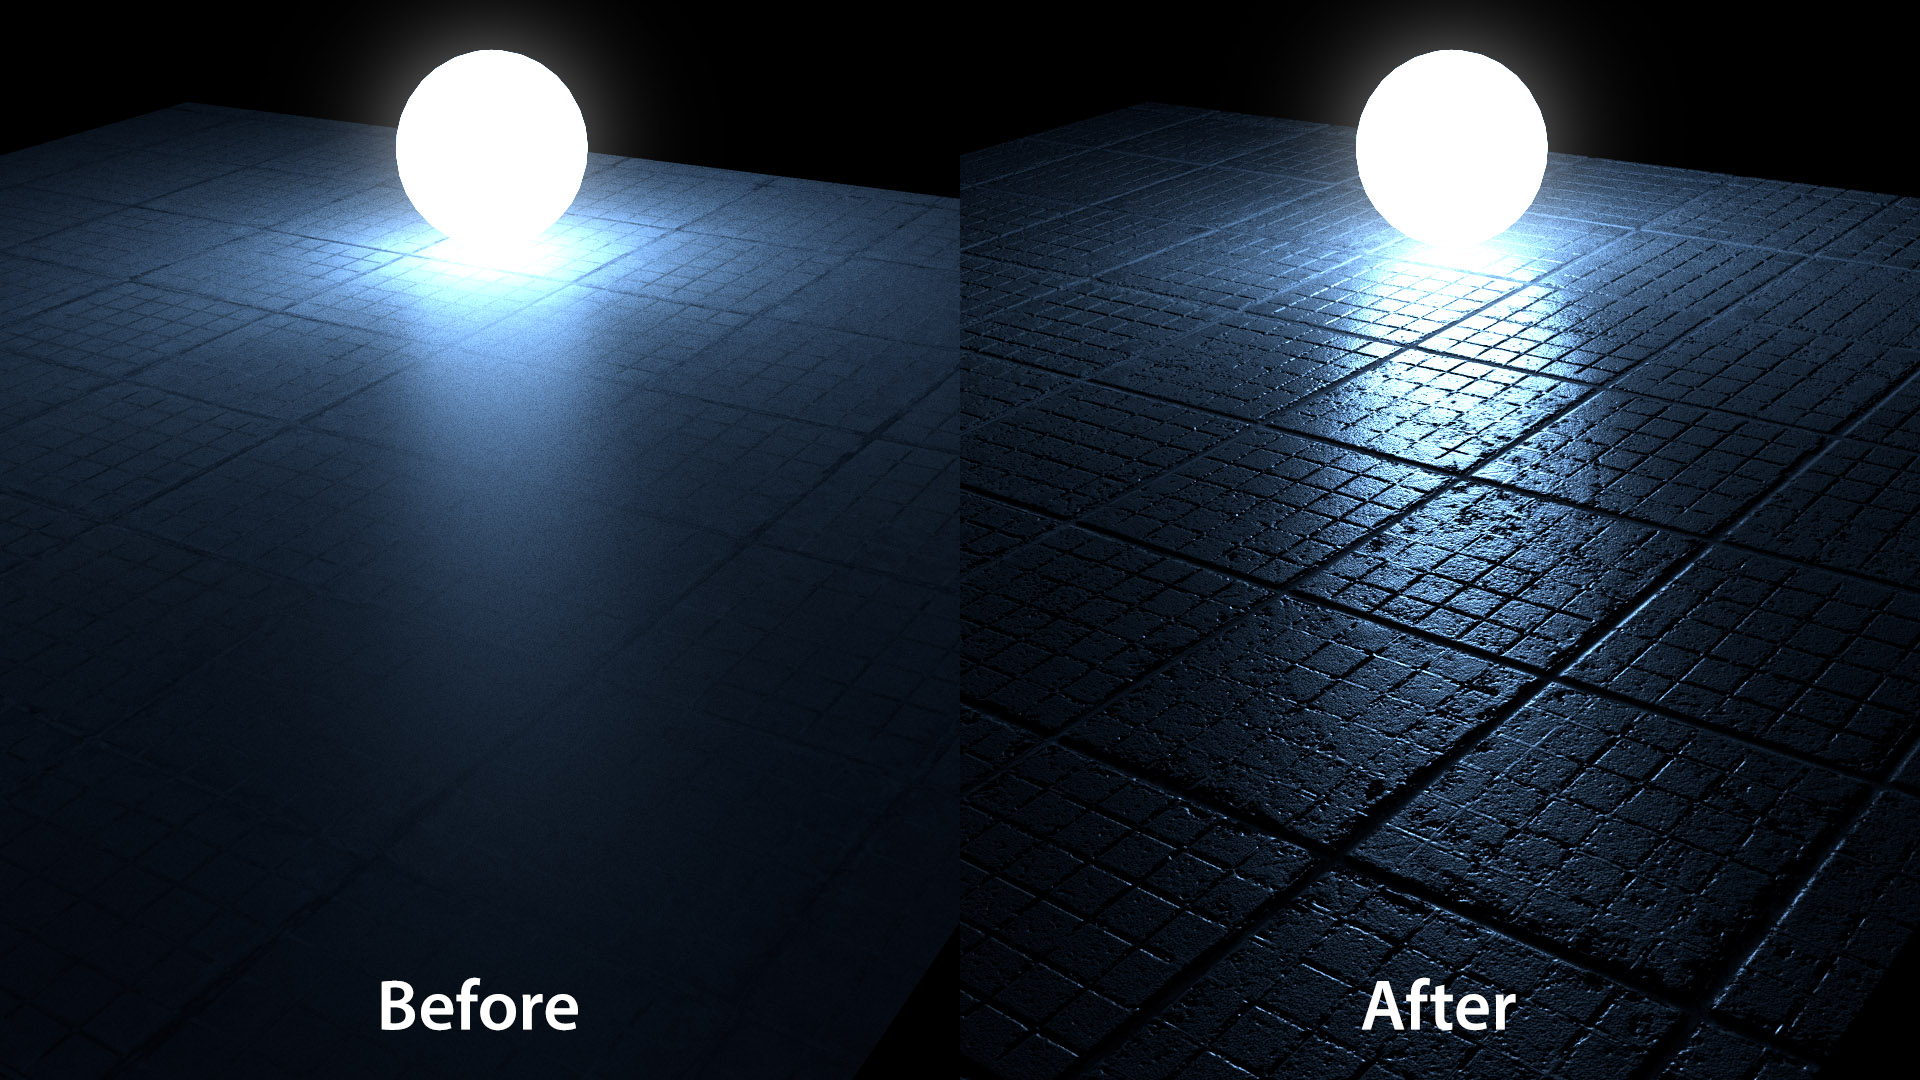
In this tutorial you'll be taking a texture and creating some variations of it, using Photoshop (or Gimp if you prefer), then putting them into Blender like this:

...to create a much more realistic tutorial.
Download the texture
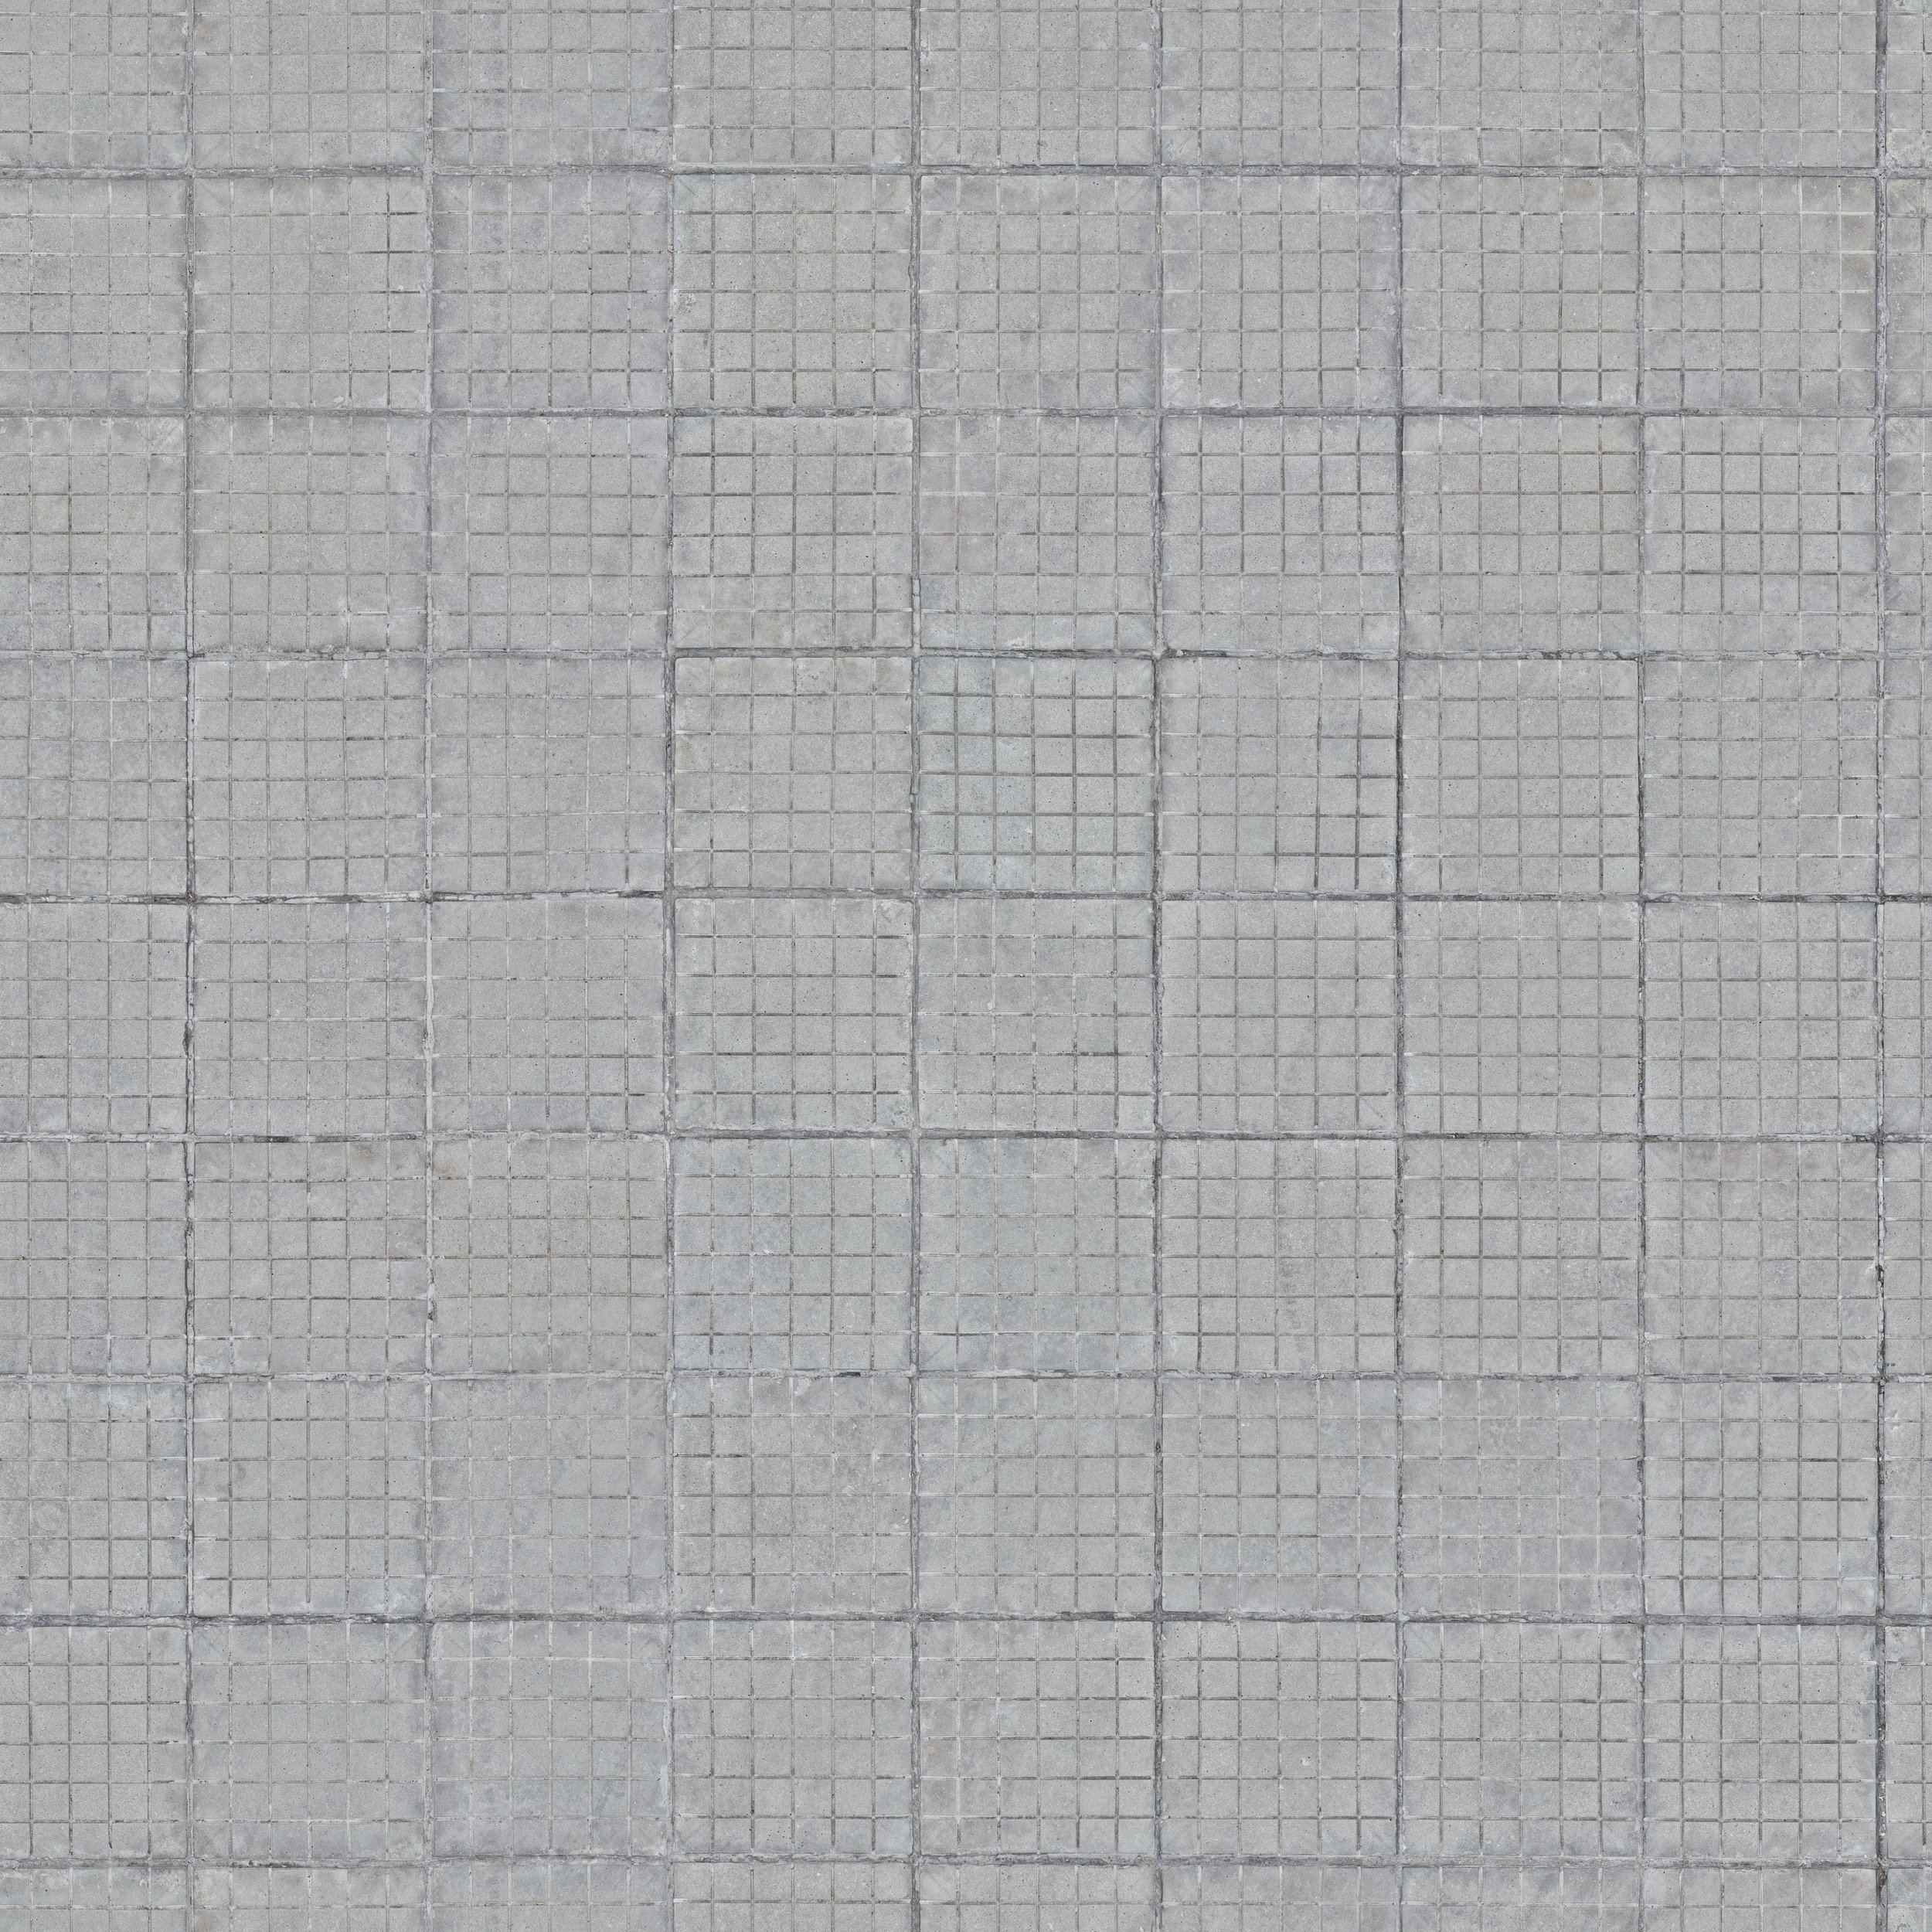
As mentioned in the video, I’ve been working on a new texture website that provides the normal, spec and displacement maps for you. And it’s now ready! Go to Poliigon.com to try it out.