
How to Make a Private Jet
🔗Links:
Join the Discord, then go to the #plane-help channel for immediate help.
Download PureRef - This is free if you select custom amount = $0.
Tripo - 500 free credits for new signups. And use code TRIPOCREW for 60% off your first month.
Unstuck Yourself
Below are some of the most common mistakes or problems you may run into when making your plane.
“Help! My mesh looks mangled.”
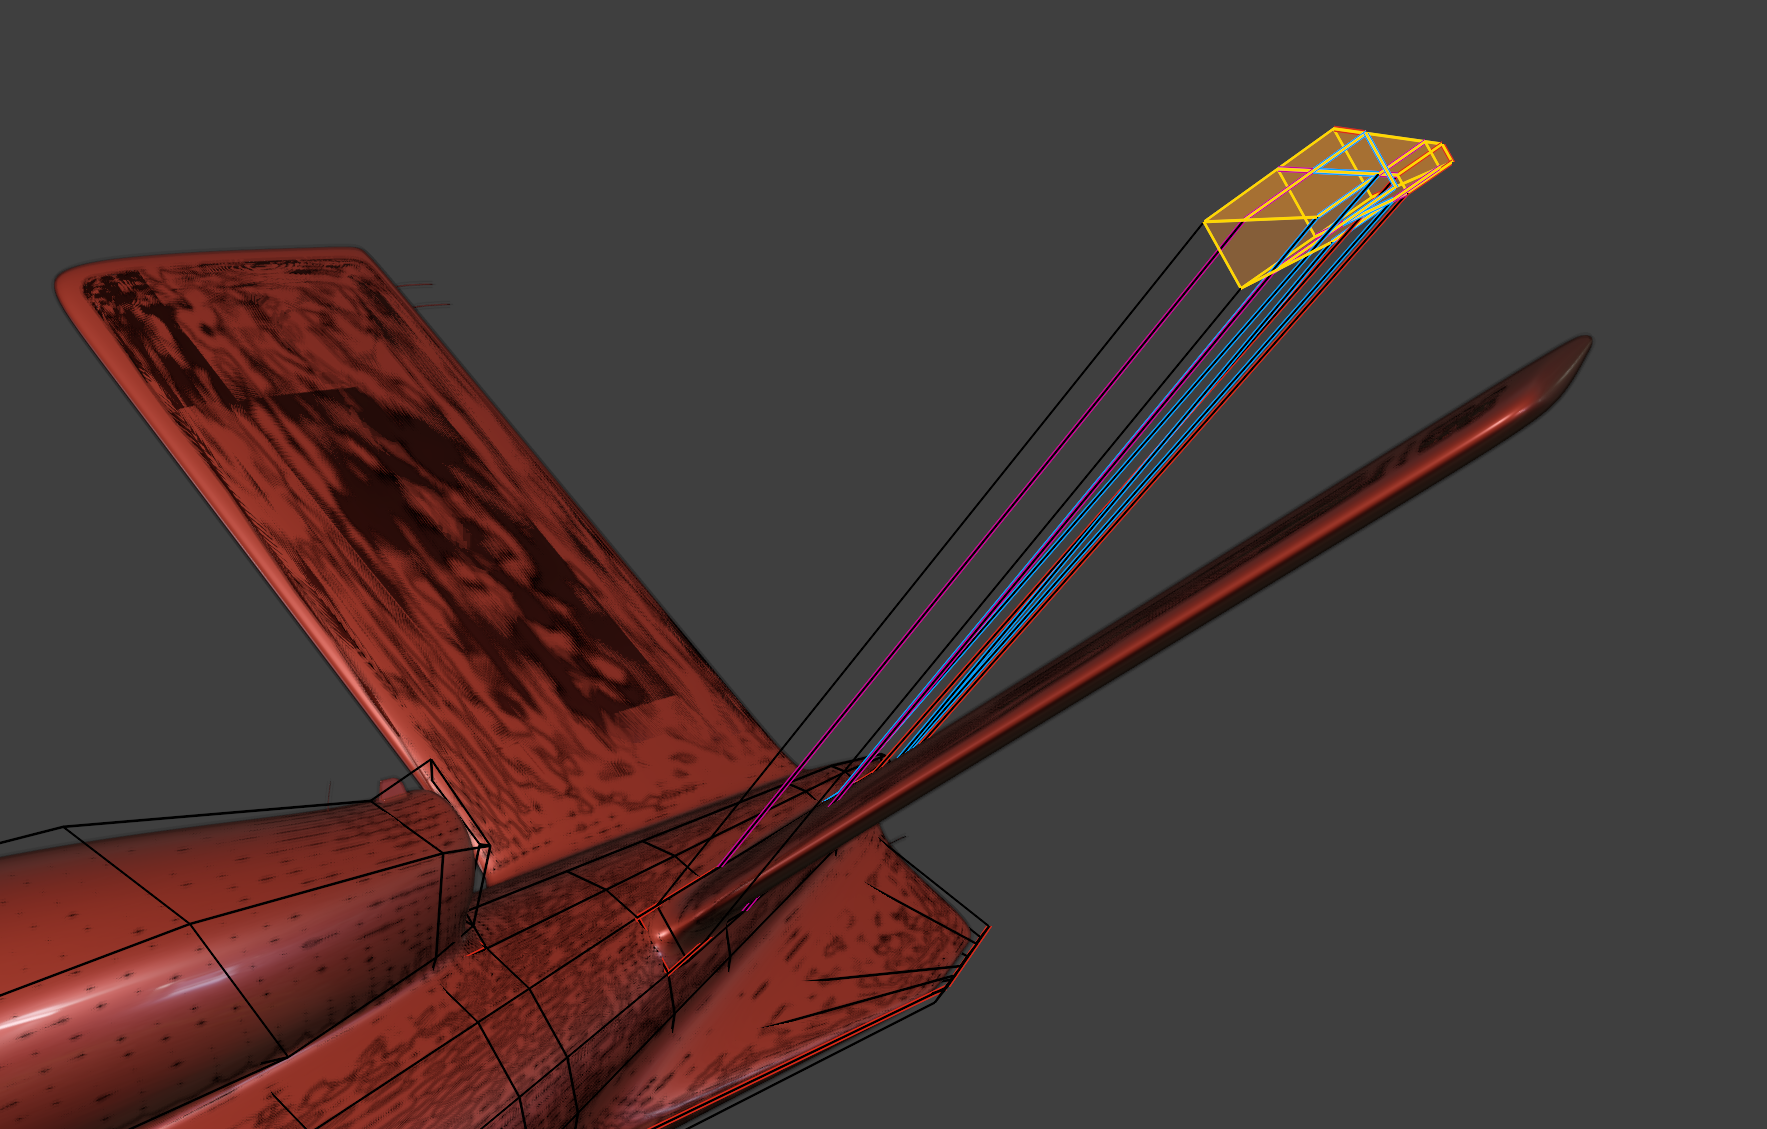
Cause #1 You’ve made large changes to the shape on the Details mesh only, and its too different to the Base.
Solution: See 59:22 of the video. If making large changes to the shape, it should be done to both the Base and Details mesh at the same time. To fix this, undo any recent changes. Then in object model, select both the Base and Details object, enter edit mode (TAB), then drag select the vertices of the area you wish to change and move or make whatever changes you wish.
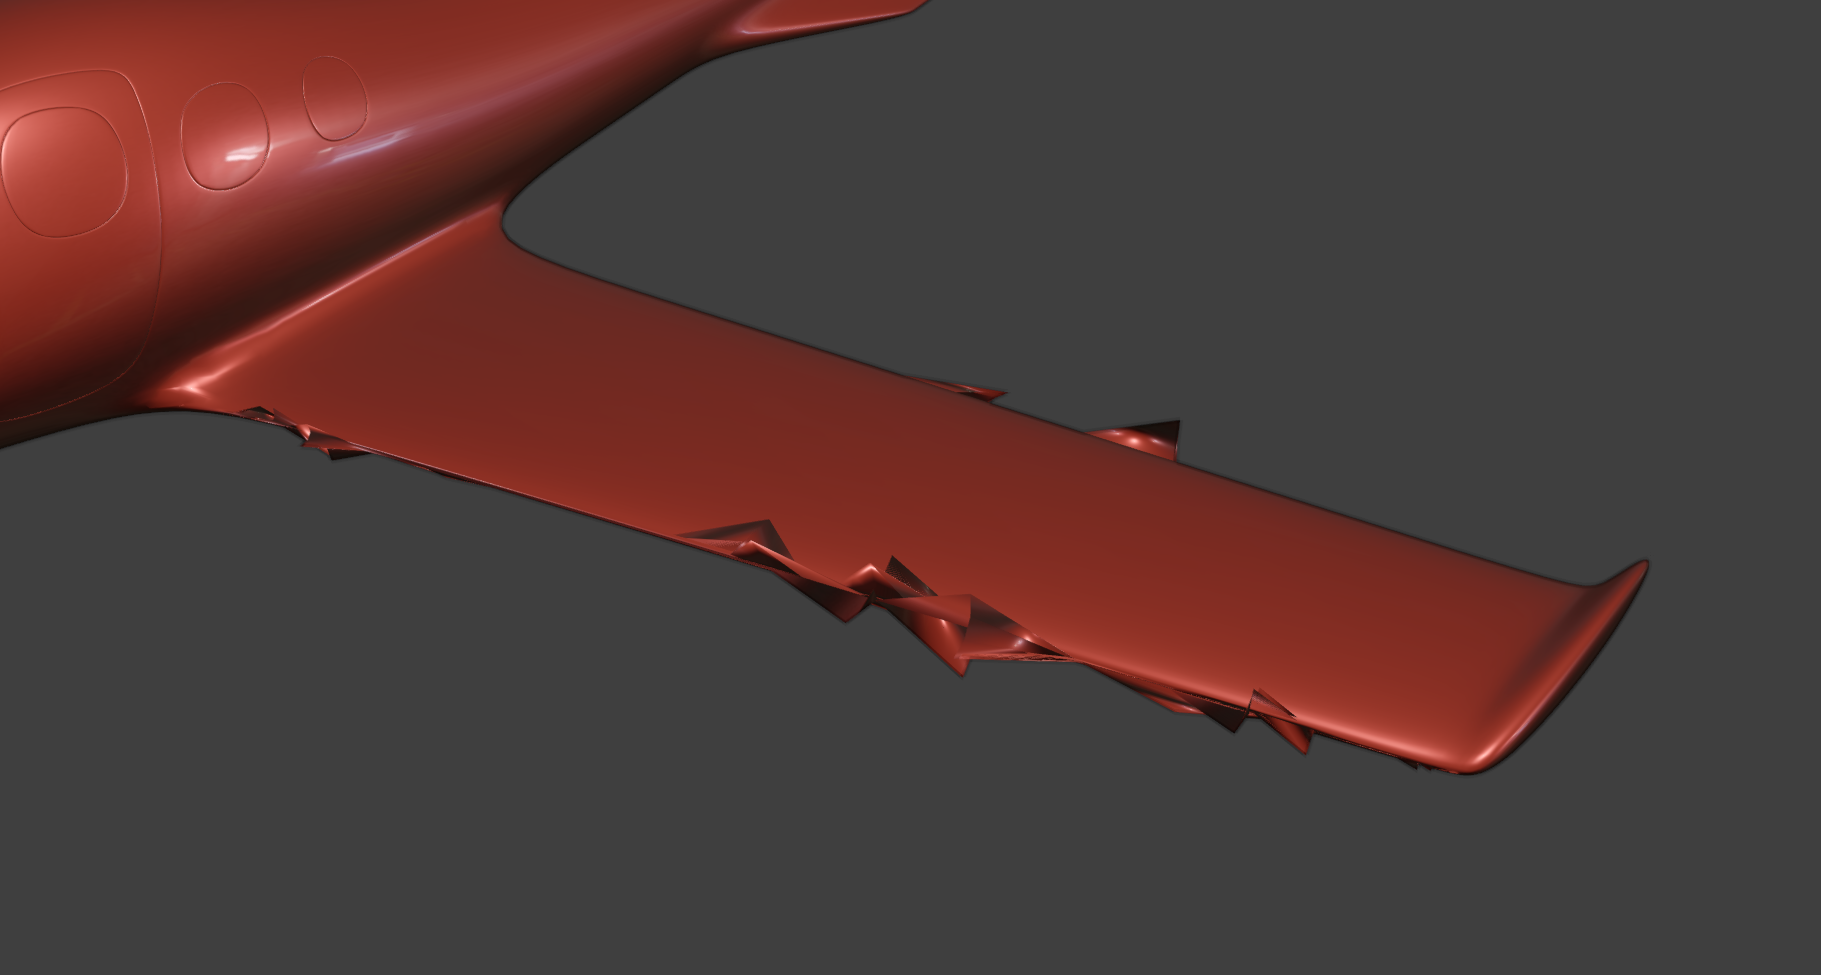
Cause #2: The Details mesh has a lot more detail than the Base mesh.
Solution: See 1:12:36 of the video. Add more loop cuts or detail to the base mesh, ensuring the vertices are in a similar position to where they appear in the details mesh.
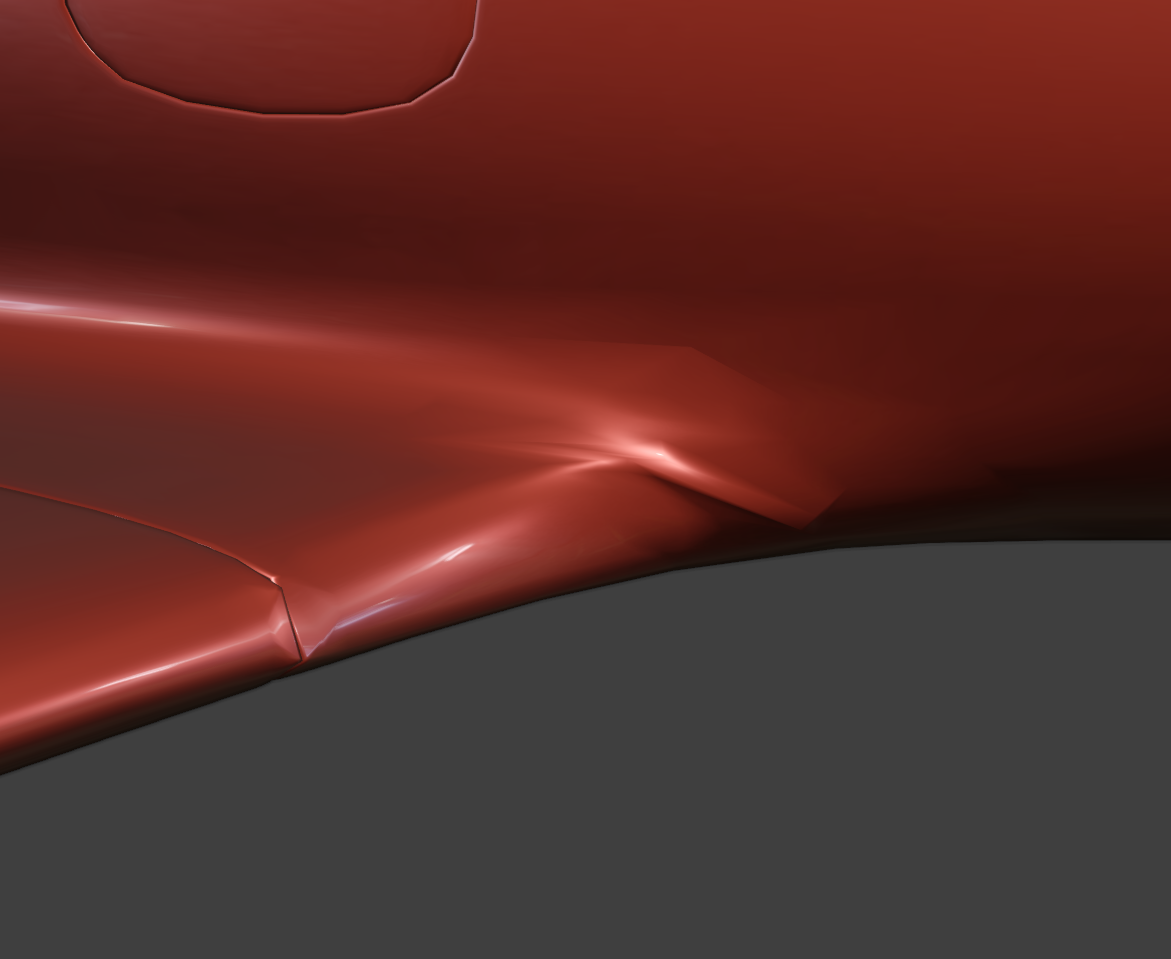
Cause #3: The bevel is appearing in places it shouldn’t.
Solution: See 1:27:47 of the video. Either increase the bevel limit angle (try 60-80) or manually assign weights to the edges where the bevel should appear (see 1:30:54)
“Help! My mesh looks jagged.”
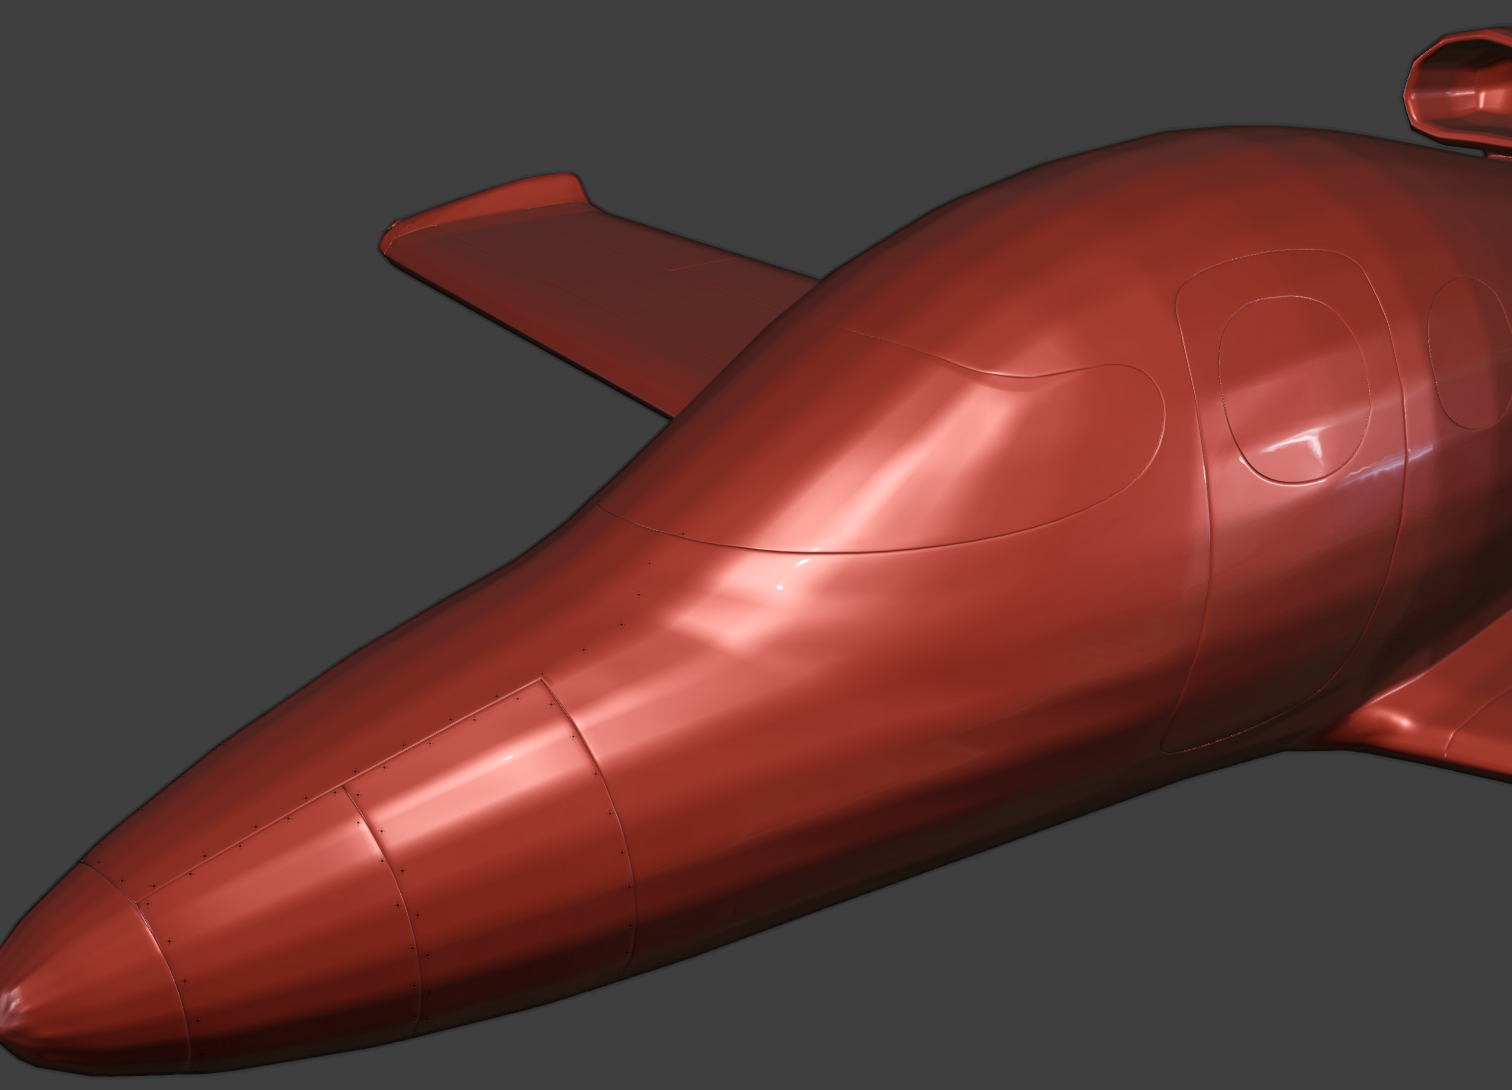
Cause: This happens when the base mesh has subsurf level lower than the details mesh.
Solution: See 1:00:22. Increase the base mesh subsurf level (for both view and render) to at least 1 level higher than the details object.
“Help! The edges look weirdly shaded.”
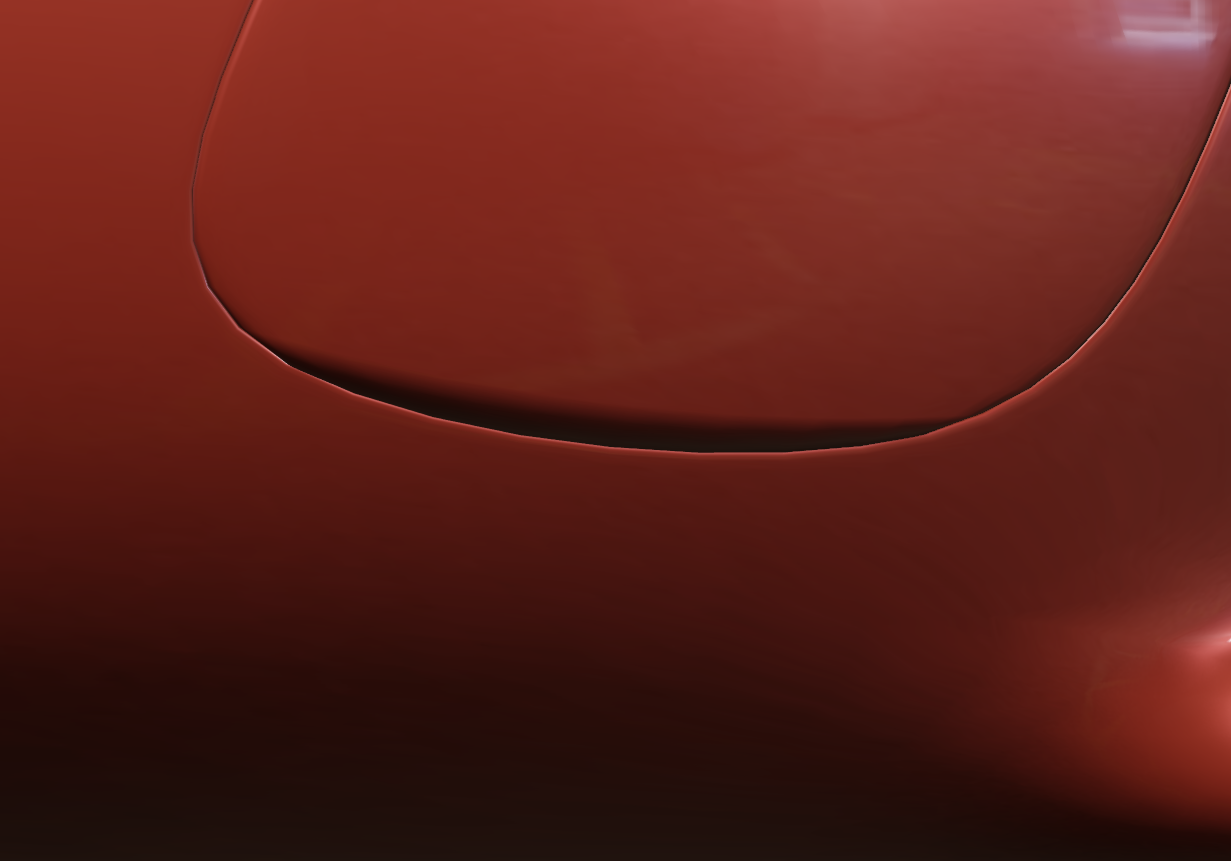
Cause: Usually this is because an edge doesn’t have a bevel when it should.
Solution: See 1:30:54 of the video.
In edge select mode, select the edges that should have a bevel, then press N, and increase the Edges Data Bevel Weight to 1. IMPORTANT: Check that you’re applying it to the Edge bevel weight not the Vertices bevel weight. You’ll know it’s correct when the edge turn blue!
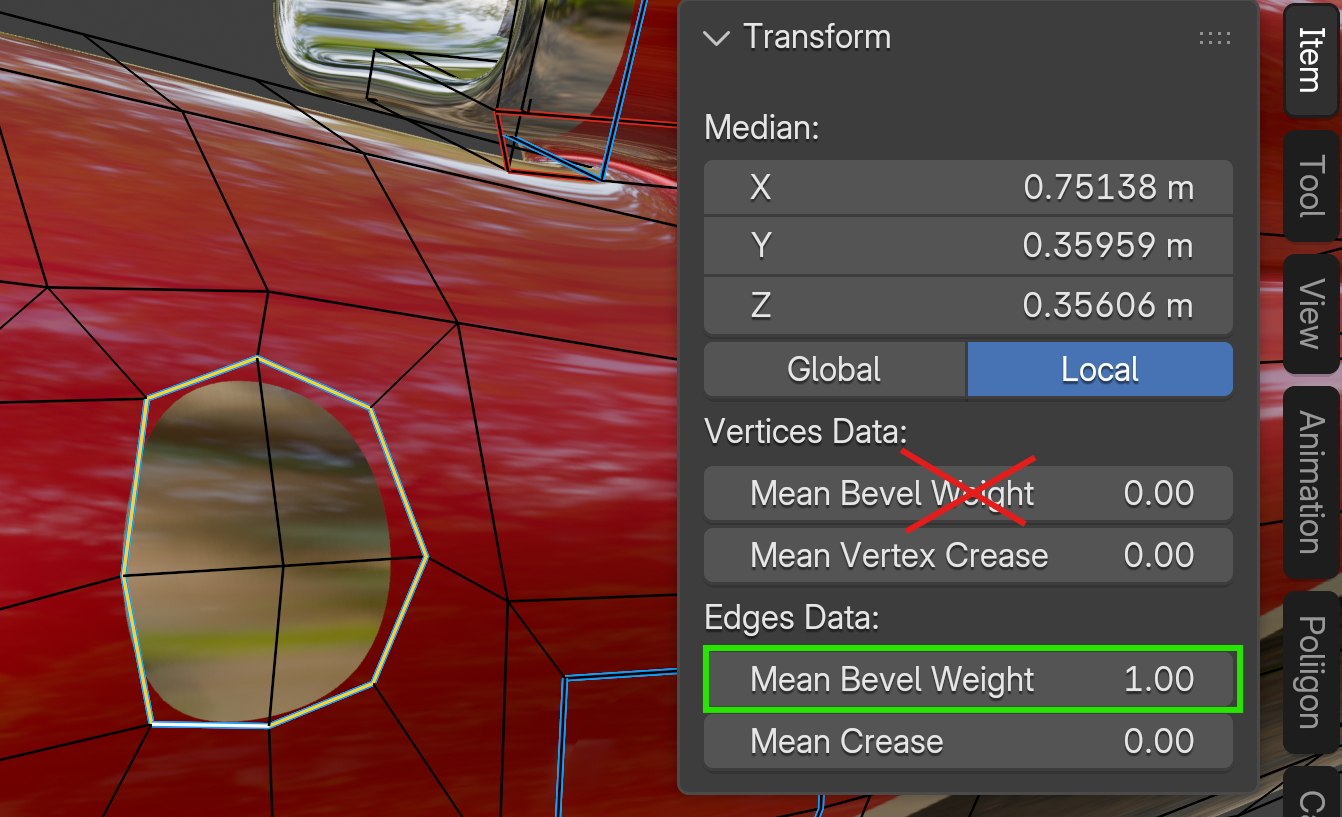
“Help! That didn’t work!”
Solution: Make sure you applied the bevel weight to the edge, not the vertices!
“Help! The panels are warping the texture.”
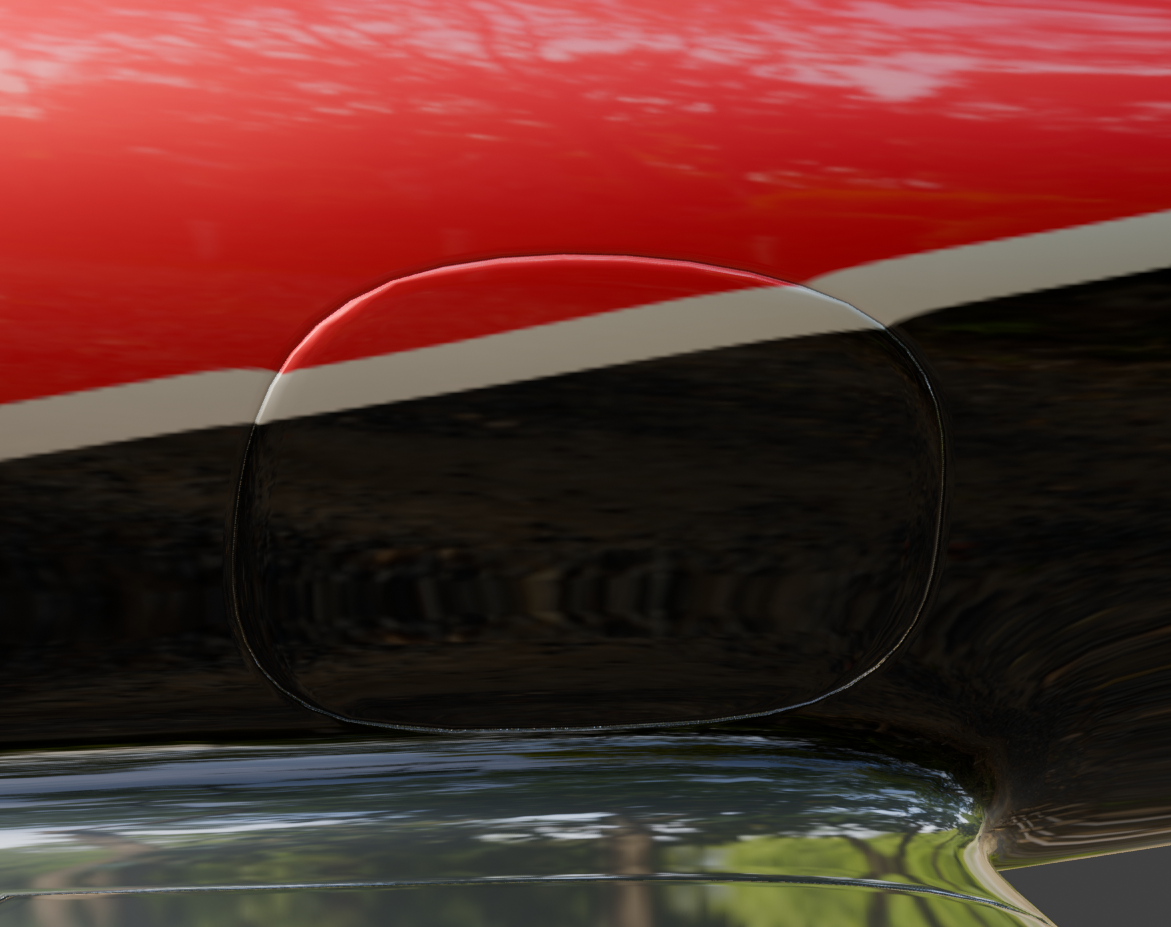
Cause: UV islands are only partially adhering to the edges.
Solution: On the Details object, go to the Subdivision Surface modifier, Advanced, then under UV Smooth change it from ‘Keep Boundaries’ to ‘All’. See 1:57:50