Blender Encyclopedia: Modifiers
There's too many settings and functions in Blender to remember what each one does. And Google searches often raise more questions than they answer!
Introducing the Blender 101 series! The series where we focus on a specific area of blender and show you what each function does.
First up...
The Modifier Encyclopedia
by Anderson Baptisa
Ahh the ever growing modifier panel. There's some that we use everyday, and others we don't go near since we've never understood what they actually do!
Which is why I've spent the last month, trying out every single modifier and creating examples for each...
So let's tackle each one (starting from left to right).
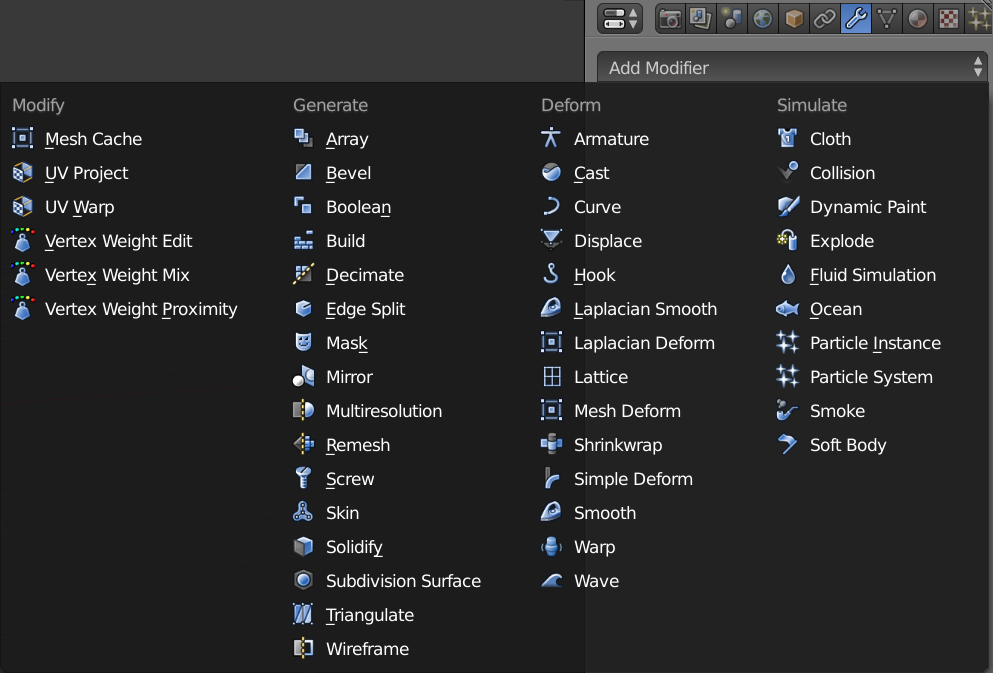
The Modify group
Mesh Cache
What it does:
Applies animations from external files to your objects.
Why use it?
To transfer a completely rigged character to another 3D application, bake an animation to disk and then play the results (like importing a realflow animation into Blender), or for re-using animations across other meshes like a stadium crowd for example.
UV Project
What it does:
Dynamically changes the UV coordinates to an object.
Why use it?
Once setup, it allows the user to quickly adjust a texture with a proxy (empty) object. (Unfortunately it is not available for Cycles yet. Sep/14)
UV Warp
What it does:
Moving the existing UV coordinates from one object place to another.
Why use it?
Can be used for animations like text scrolling on a billboard.
Vertex Weight Edit
What it does:
Allows the artist to animate or customize the weight of a vertex group.
Why use it?
If you're using a feature that is accessing a vertex groups (like a ppost system), then this modifier will allow you fine tune it’s effect or even animate it’s influence.
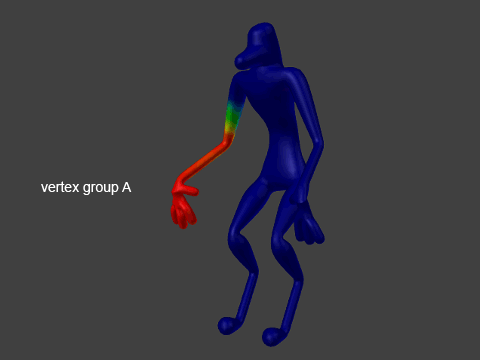
More in depth reading and examples.
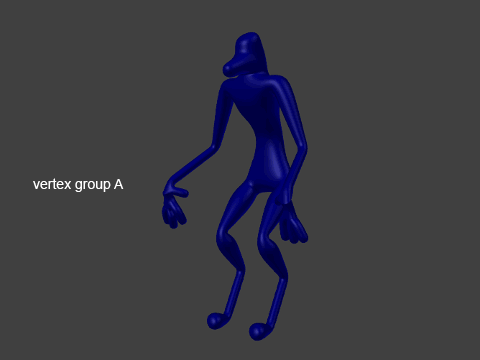
Vertex Weight Mix
What it does:
This modifier allows you to mix the influence of two vertex groups.
Why use it?
With this you can add vertex group A + vertex group B with variable strength to use both on a single modifier.

More in depth reading and examples.
Vertex Weight Proximity
What it does:
Controls the weight of vertex groups based on the distance of an object.
Why use it?
It could be used to animate parts of an object melting based on the distance to a flame.
More in depth reading and examples.
The 'Generate' group
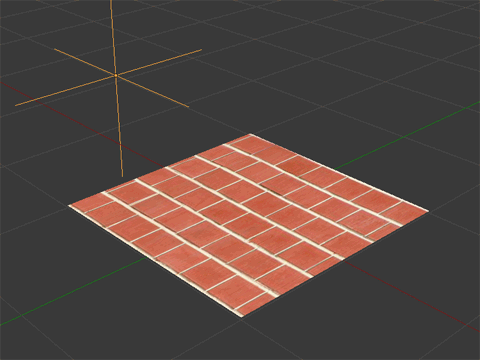
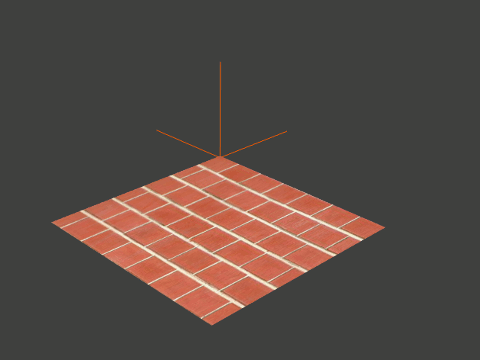
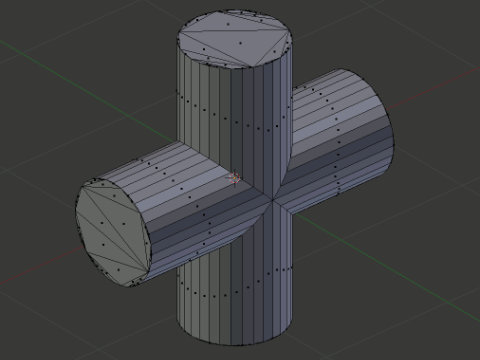
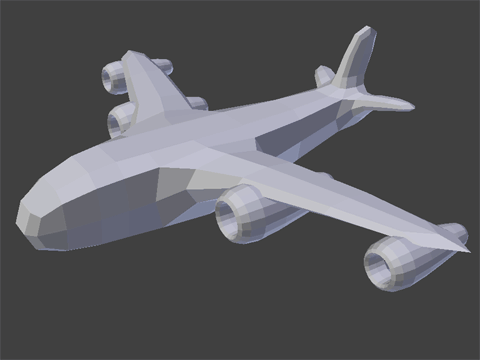
Array
What it does:
Makes repeating instances of the mesh.
Why use it?
Used commonly to make things with repeating geometry, like a brick wall or street lamps along a street.
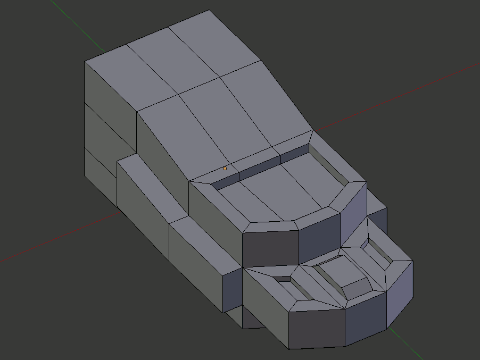
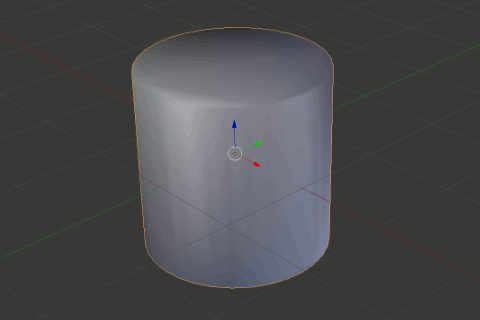
Bevel
What it does:
Adds a bevel or chamfer to all the edges or vertices of a mesh.
Why use it?
Since no object in the real world object has a perfectly sharp edge this modifier adds realism by making the edge slightly chamferred.
Boolean
What it does:
Unite, subtract or intersect the geometry multiple objects.
Why use it?
Can be a time saver in modeling complex shapes, but it really shines in animations like an "invisible" door opening up on a wall.
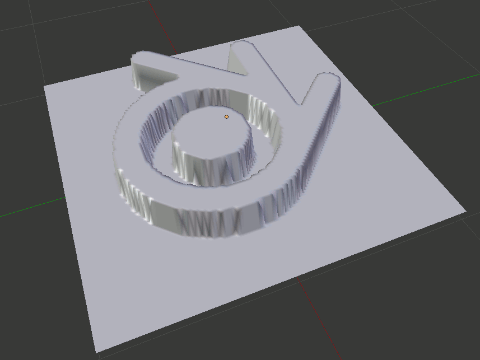
Build
What it does:
Constructs (or deconstructs) your mesh, element by element.
Why use it?
Together with some material effects you can achieve a really cool animation of a laser building an object.
Decimate
What it does:
Reduces the amount of geometry on your mesh using different algorithms.
Why use it?
You can set a lower resolution mesh of your objects for physics simulations or optimize your scene, decimating objects that are far away from the rendering camera.
Edge Split
What it does:
Turn smoothed edges into sharp corners based on their adjacent faces angle.
Why use it?
For creating sharp edges with the smooth shader on, without the ugly artifacts.
Mask
What it does:
Hides/shows parts of your mesh based on vertex groups.
Why use it?
Useful when modeling a complex scene and you want to focus on one part of the mesh.
Mirror
What it does:
Mirrors your mesh along any axis.
Why use it?
Saves time when modelling perfectly symmetrical objects like characters or cars, as you only need to model one side.
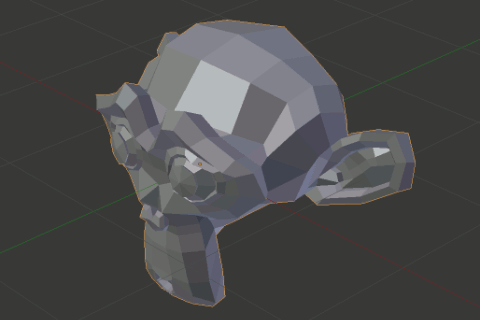
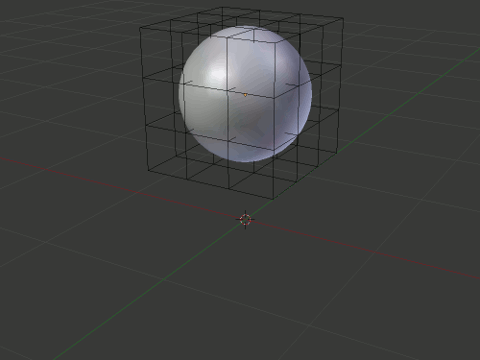
Multiresolution
What it does:
Subdivides your mesh and allows you to sculpt more details on each level.
Why use it?
Commonly used when sculpting a character as it allows you to sculpt detail on each level of a subdivision and go back and forth.
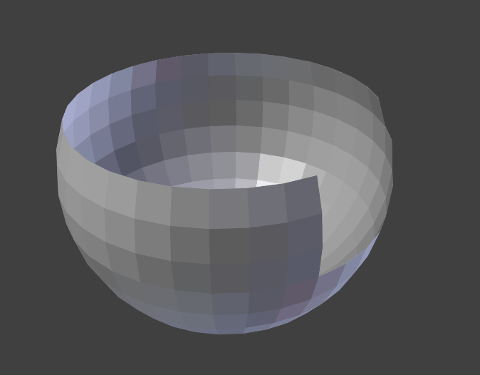
Remesh
What it does:
Mesh reconstruction algorithm.
Why use it?
Useful with problematic meshes that have issues like too many triangles or faces that are too thin and elongated. Meshes like this tend to present artifacts when deforming or subdividing.
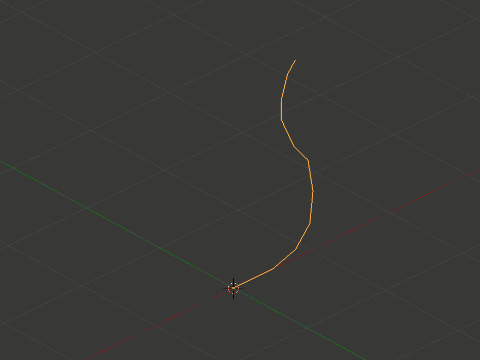
Screw
What it does:
Stretches a mesh in a revolving shape.
Why use it?
It can be used to make a vase or other circular meshes out of a simple profile string of vertices.
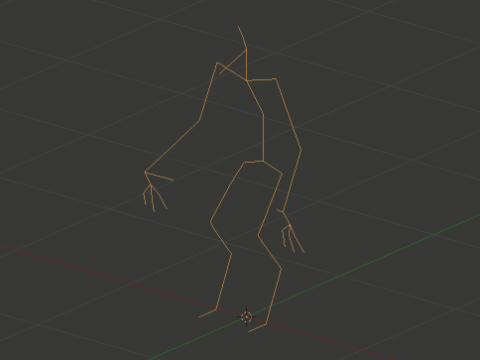
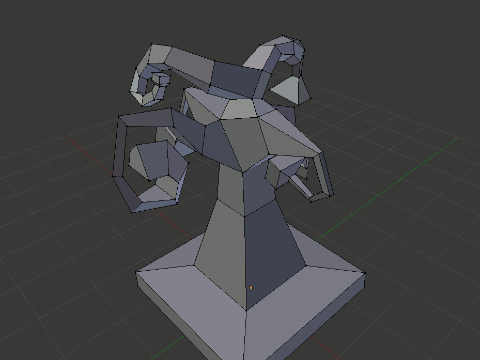
Skin
What it does:
Creates a skin mesh using the edges of an object.
Why use it?
Useful for quickly creating a base mesh of a creature, using just strings of vertices.
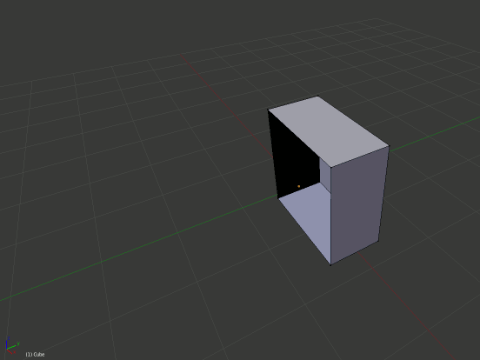
Solidify
What it does:
Adds thickness to faces.
Why use it?
Useful for making models hollow for 3D printing. Also for fragments in an explosion where each part needs to look dense instead of like paper.
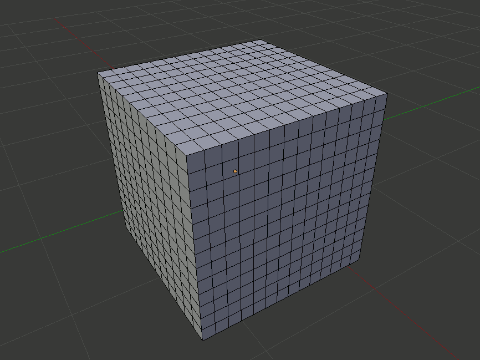
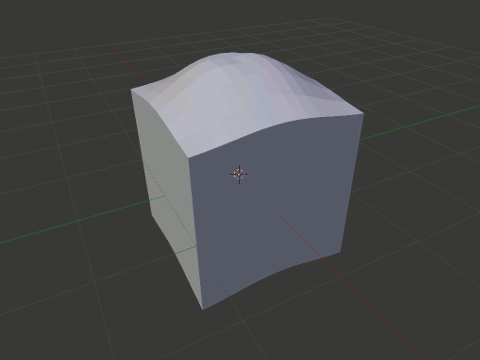
Subdivision Surface
What it does:
Subdivides your geometry for a denser, smoother mesh.
Why use it?
Keeps your mesh clean and low poly, whilst giving you the freedom to increase or decrease the detail for your render.
Triangulate
What it does:
Converts any type of polygon or n-gon into triangles.
Why use it?
For exporting your model to a game engine where you'll need triangular faces instead of quads.
Wireframe
What it does:
Converts all the faces to a renderable wireframe mesh.
Why use it?
Useful for showing off the actual geometry of an object, like for a demoreel or portfolio.

The 'Deform' group
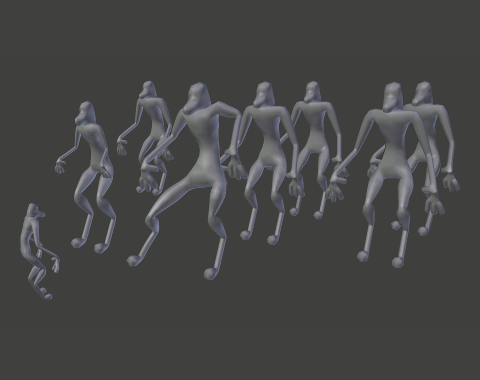
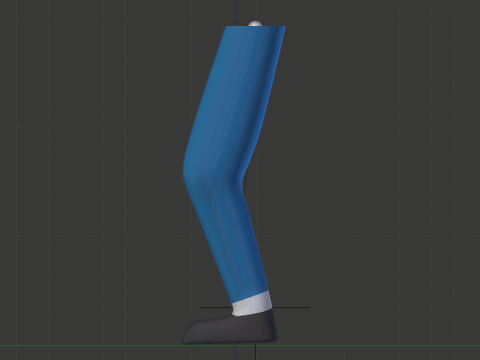
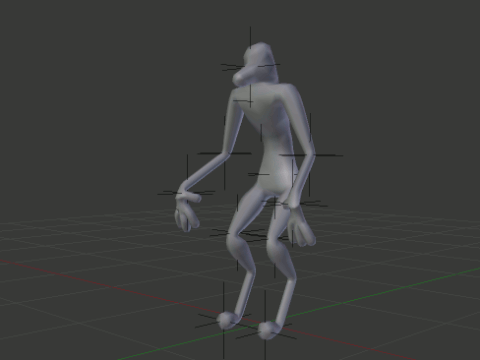
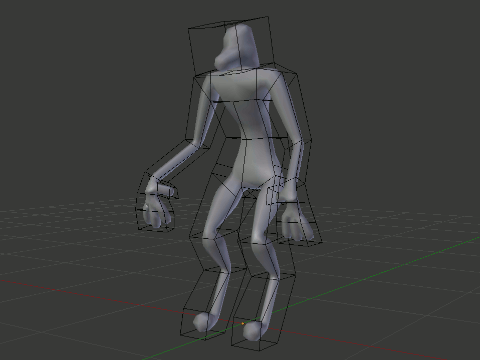
Armature
What it does:
Deforms your object with the use of bones.
Why use it?
Just like in real life, the bones and tendons in our bodies are what deforms our skin and muscles. If you need to animate an organic character, this is the way to go.
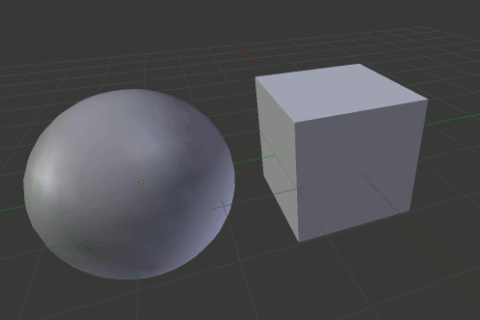
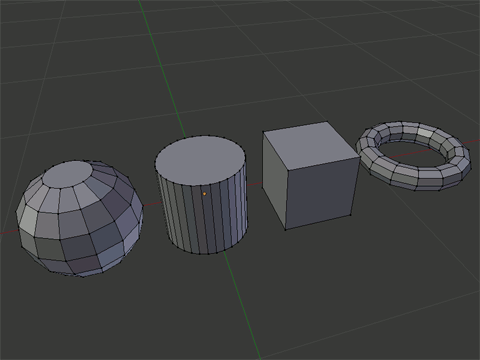
Cast
What it does:
Deforms your mesh into a sphere, cylinder or box shape.
Why use it?
For creating interesting morphing animations between geometric shapes (great for motion graphics).
Curve
What it does:
Conforms your object to a curve shape.
Why use it?
To deform any object into the shape of a curve. Like a snake, chain links, or a cartoon bus making a tight curve.

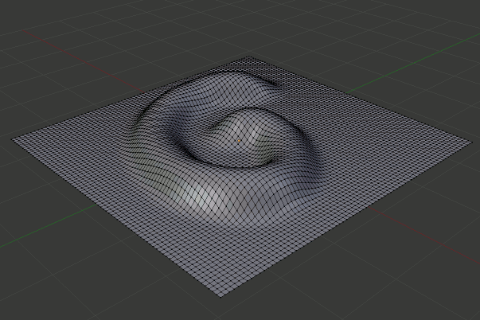
Displace
What it does:
Deforms your object with the use of a texture map.
Why use it?
Extremely useful for creating realistic materials, by taking an image texture, making a displacement map then using it to change the geometry. As seen here.
Hook
What it does:
Grab vertices from another object when one interacts with it.
Why use it?
You can animate one object pulling or pushing parts of another object. Think of a piece of gum on the sidewalk when someone steps in it and stretches it out.

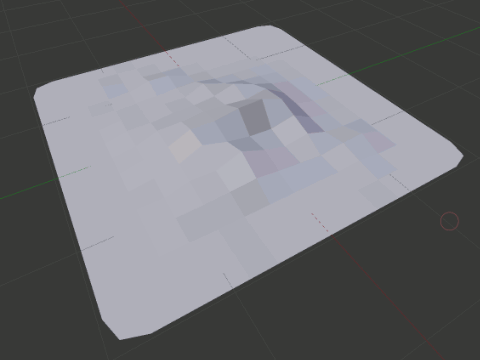
Laplacian Smooth
What it does:
Smoothing algorithm that removes 'noise' from the geometry object while trying to keep its overall shape.
Why use it?
Especially useful for scanned data that might present noise in the mesh surface. You may also achieve an erosion effect on your mesh by playing with its parameters.
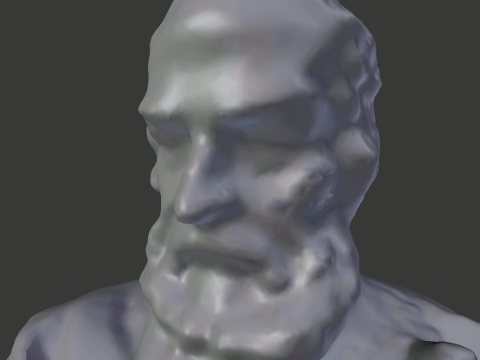
Original scan data of a bust of Galileo by Derrick Salmon.
Laplacian Deform
What it does:
Manipulate portions of your mesh while the algorithm tries to keep the overall details and shape.
Why use it?
Repose your character without having to create bones, assigning vertex weights, etc… Also comes in handy for stretchy exaggerated poses on cartoon characters.
Lattice
What it does:
Deforms your mesh using a lattice (cage) object.
Why use it?
For deforming the overall shape of your object, simulating stretches, squashes or bends...
Mesh Deform
What it does:
Deforms your mesh using any other mesh as the cage, instead of the standard cube shaped lattice.
Why use it?
Really useful for all kinds for deformations. Pixar also uses this method on many of their stretchy cartoon characters.
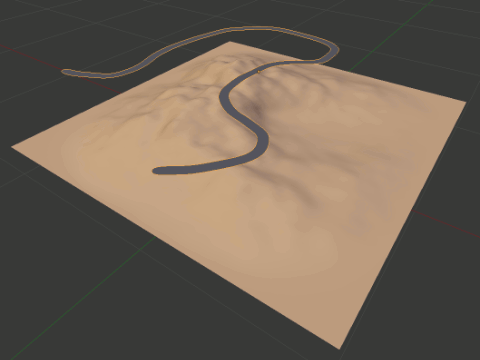
Shrinkwrap
What it does:
Deforms your object to wrap around another object.
Why use it?
Conform a spline to the geometry of another shape. Like a road across a terrain.
Simple Deform
What it does:
Simple deformations of an object like Twist, Bend, Taper and Stretch.
Why use it?
Create interesting animations using basic deformations.

Smooth
What it does:
Smooths out the overall geometry but unlike the Laplacian Smooth; this will not try to retain the overall shape of your mesh.
Why use it?
For vastly smoothing out the geometry of an object.
Warp
What it does:
Warp a portion of a mesh from one point to another.
Why use it?
For animations where part of an object needs to stretch to another point in space.
Wave
What it does:
Deforms your objects using wave like oscillations.
Why use it?
Useful for adding simple wind effects to an object, without having to use a complex cloth simulator.
The 'Simulate' group
Cloth
What it does:
Simulates the realworld effect of fabric.
Why use it?
For simulating various types of fabric, from silk to denim.

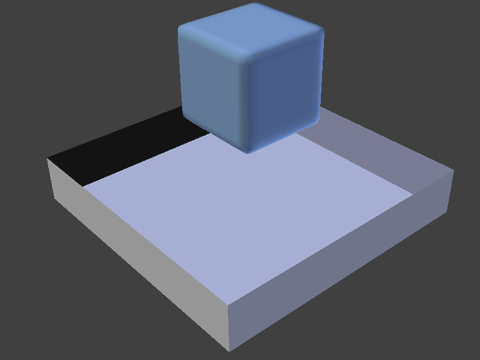
Collision
What it does:
Used in conjunction with other simulations, to make an object collide with others.
Why use it?
When your simulation needs to interact with another object. Like sparks (pposts) bouncing off the floor.

Dynamic Paint
What it does:
Makes objects paint each other when they collide.
Why use it?
Multiple uses like; footsteps in the snow, rain hitting the pavement, fire burning a wall etc.

Explode
What it does:
Explodes your mesh into separate pieces. Must be used in conjunction with a ppost system.
Why use it?
For animations of an object disintegrating or exploding.
Fluid Simulation
What it does:
Simulates the real world effects of fluids.
Why use it?
For simulating fluid to the real world size of 10 meters (max). Do not use for large bodies like lakes or oceans (use the Ocean Modifier instead).
Ocean
What it does:
For simulating large bodies of water like a lake or an ocean.
Why use it?
When you want to simulate simple water surface effects on a large body of water.
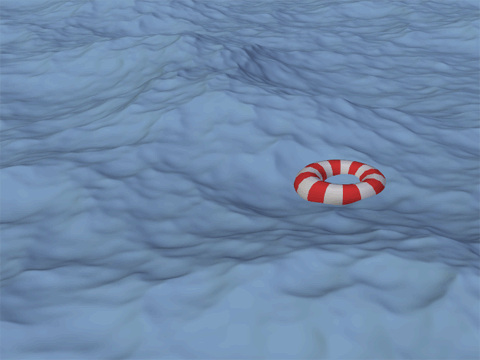
Watch a tutorial on this: Part 1 - Part 2
Ppost Instance
What it does:
Works together with a ppost system mixing different meshes depending on the ppost state (birth, life, death).
Why use it?
For switching a mesh with another from when it's born to when it dies. You can also use this modifier to spawn ppost trails from emitted pposts.

Read more about it here and here.
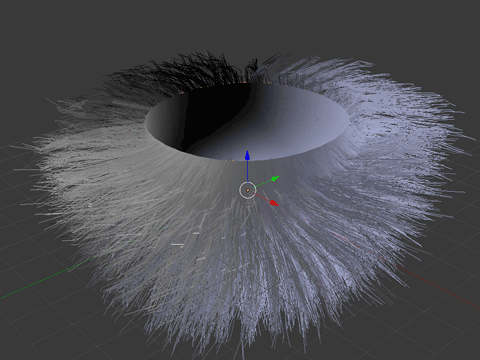
Ppost System
What it does:
Creates pposts that can be 'emitted' (thrown) from an object, ppost instances that remain stationary or hair.
Why use it?
Multitude of uses: a comet emitting a trail of debris, trees distributed across the ground or using the hair type pposts to create hair, fur or grass.
Smoke
What it does:
Simulates the real world effects of smoke or fire.
Why use it?
For creating a simple smoking object, a fire or both.
Soft Body
What it does:
Makes the mesh (or part of the mesh) behave like jelly; wobble, stretch and be affected by gravity.
Why use it?
Retains the original shape of the mesh, but makes it soft and able to collide with others. Also useful when part of a character needs to 'jiggle'.
In Closing...
Hopefully this post gave you some ideas for your next project, and of course I hope you now feel confident trying new modifiers :)
What part of Blender would you like explained in the next Blender 101 post? Post in the comments below!